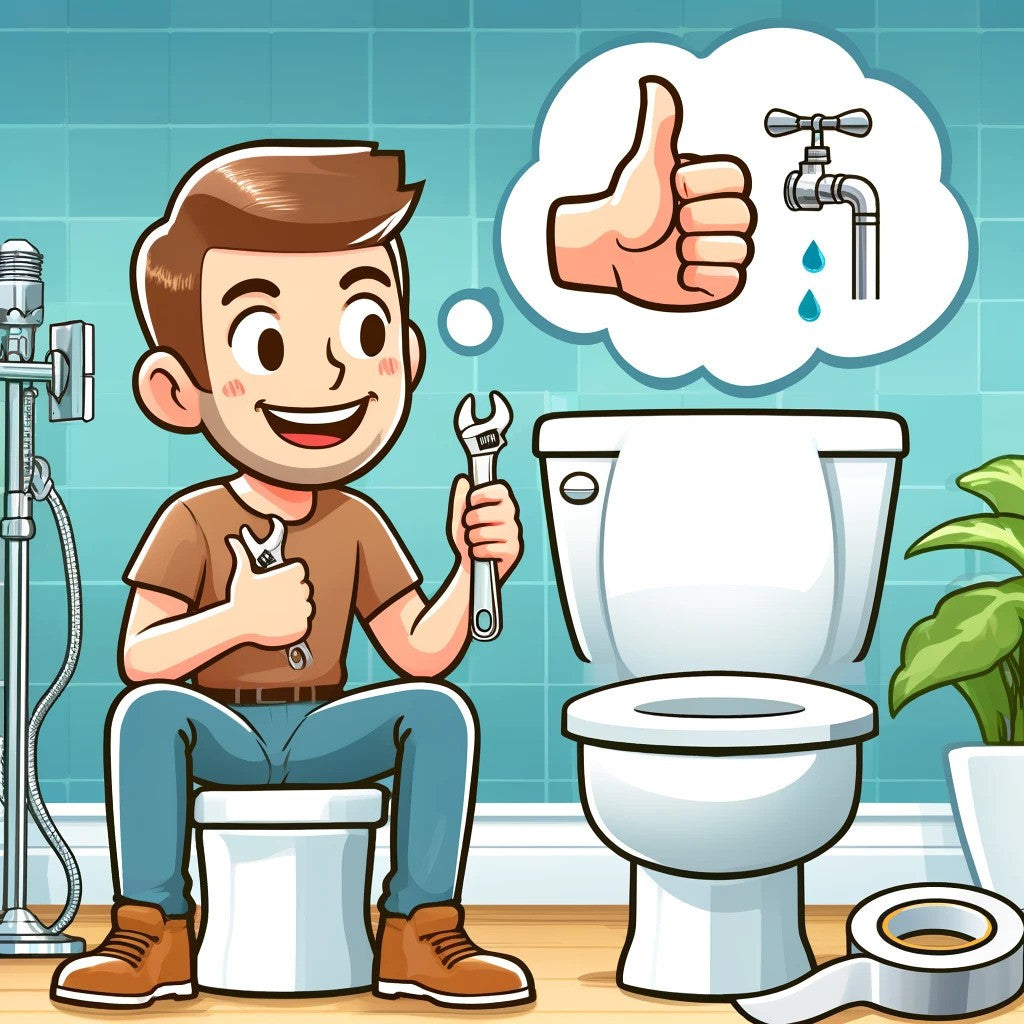
DIY Guide 2025: Ensuring a Leak-Free Installation of Your Bidet Attachment
Share
Installing a bidet attachment can elevate your bathroom experience, but it's crucial to ensure it's done correctly to prevent leaks. Here's a step-by-step guide to help you achieve a perfect, leak-free installation.
Check our best selling bidets here: Ultra Thin RBC001
Step 1: Gather Your Tools and Materials
Before starting, make sure you have all the necessary tools and materials:
- Bidet attachment kit
- Adjustable wrench
- Screwdriver
- Included Teflon tape
Step 2: Turn Off the Water Supply
Locate the water shut-off valve near the toilet and turn it off. Flush the toilet to empty the tank and remove any remaining water.
Step 3: Disconnect the Water Supply Line
Using an adjustable wrench, carefully disconnect the water supply line from the toilet tank. Keep a towel handy to catch any residual water.
Step 4: Install the T-Connector
Attach the T-connector from your bidet kit to the toilet's fill valve. Ensure it’s hand-tightened first, then use the wrench for a snug fit, but avoid over-tightening.
Step 5: Apply Teflon Tape
Wrap the included Teflon tape around the threads of the T-connector. This creates a better seal, helping to prevent leaks. Make sure the tape covers the threads completely without overlapping too much.
Step 6: Connect the Water Supply Line
Reattach the toilet's water supply line to the bottom of the T-connector. Tighten it with the wrench, ensuring a secure fit.
Step 7: Attach the Bidet Hose
Connect one end of the bidet hose to the T-connector and the other end to the bidet attachment. Use the Teflon tape on both connections to ensure a leak-free seal. Tighten both connections with the wrench.
Step 8: Secure the Bidet Attachment
Follow the manufacturer’s instructions to secure the bidet attachment to the toilet seat. Make sure all bolts and fittings are tight and secure.
Step 9: Turn On the Water Supply
Slowly turn on the water supply and check for any leaks. If you notice any water seeping out, turn off the water, and tighten the connections further.
Step 10: Test the Bidet
Once all connections are secure, test the bidet by using its functions. Ensure that the water sprays as expected and there are no leaks at any connection points.
Additional Tips
- Check All Connections: Periodically check all connections for the first few days to ensure no leaks develop over time.
- Reapply Teflon Tape: If you notice persistent leaks, try reapplying the Teflon tape and retightening the connections.
- Seek Professional Help: If you’re unsure or encounter issues, don’t hesitate to reach out to a professional plumber. A small investment in professional installation can save you from potential water damage.
By following these steps and tips, you can confidently install your bidet attachment and enjoy a clean, hygienic bathroom experience without the worry of leaks